Creating marks
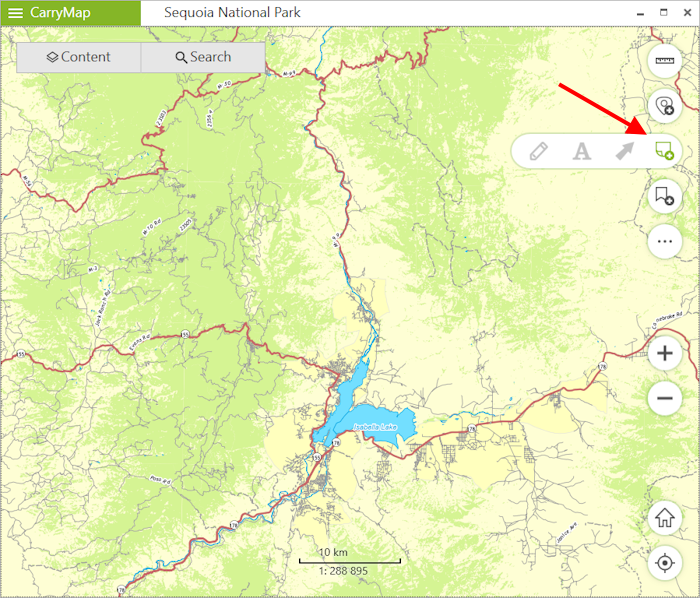
To create the graphic mark on your map as a text, custom shape or arrow, press Create mark button and select the note type.
|
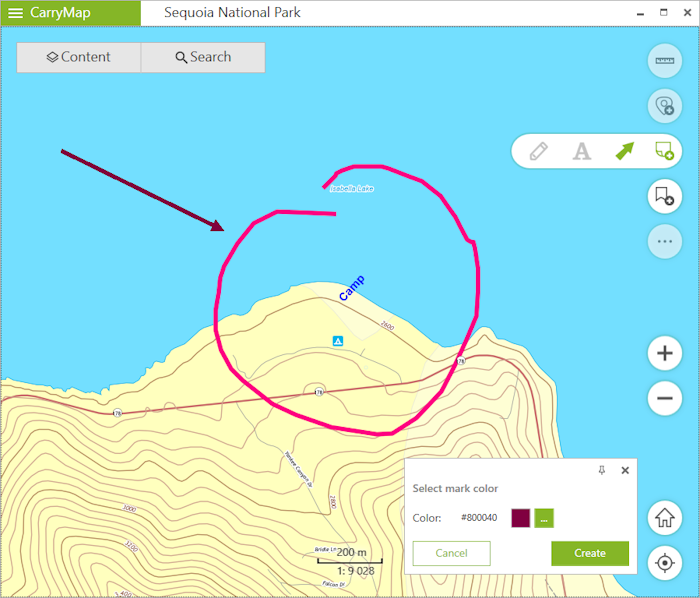
To create the mark as the custom shape, press
![]() button.
button.
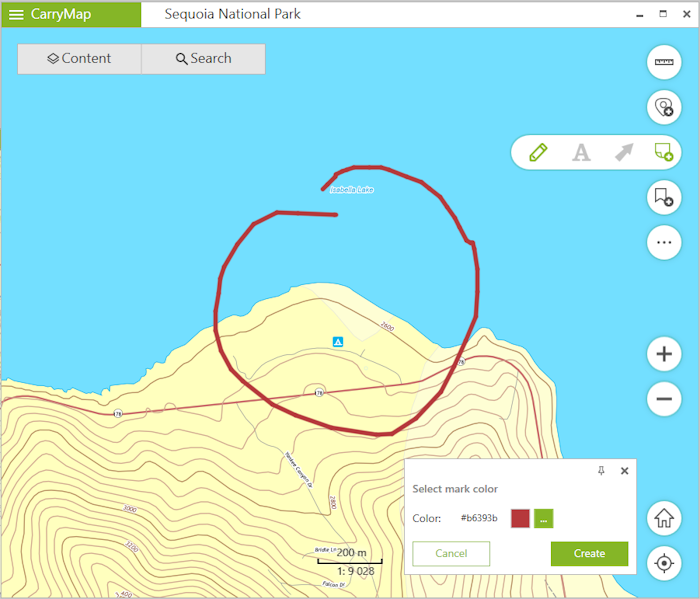
Draw the required shape on the map.
|
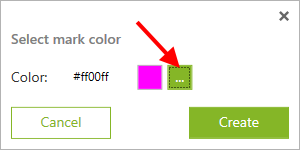
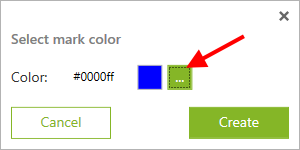
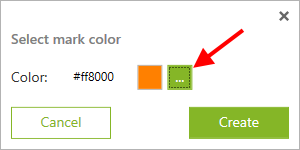
To change the mark color, select the required color from the provided list.
|
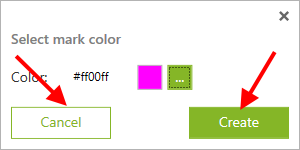
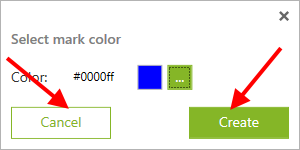
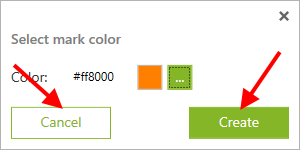
To create the mark, press Create . To cancel creating the mark, press Cancel .
|
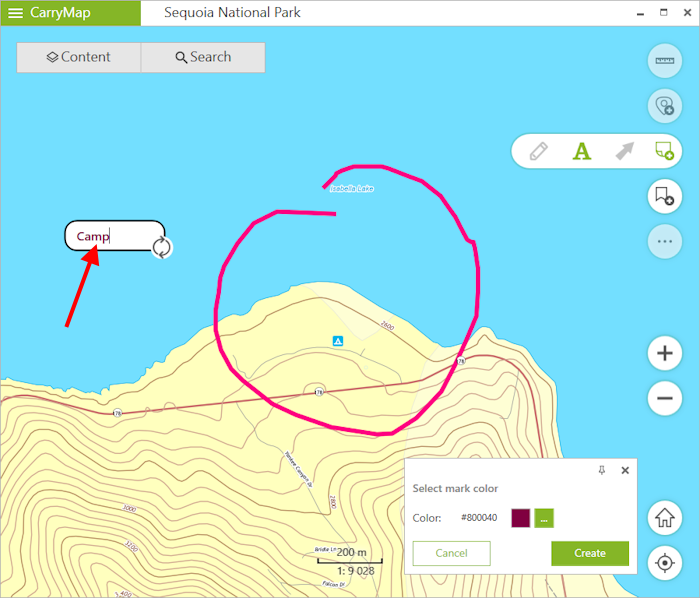
To create the text mark on the map, press
![]() button.
button.
In the appeared field enter the text.
|
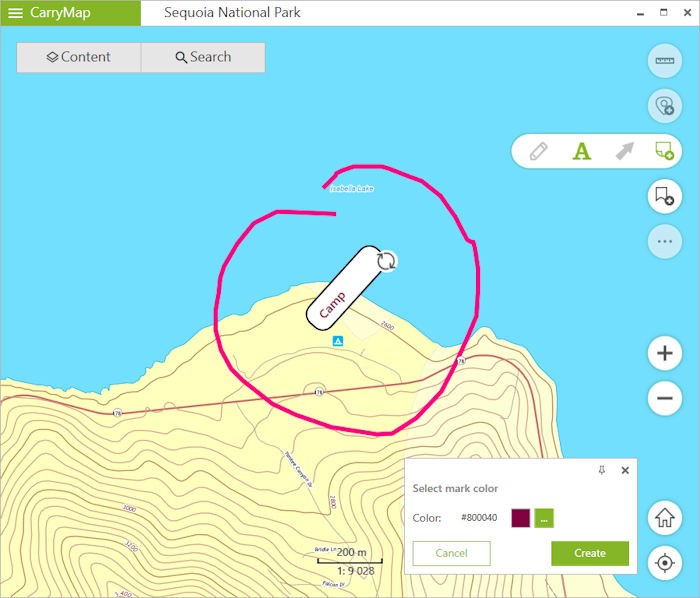
To change location of the text mark, long tap the note and drag it to the new place on the map.
To change the text mark direction, hold the
![]() button and rotate it as needed.
button and rotate it as needed.
|
To change the mark color, select the required color from the provided list.
|
To create the mark, press Create . To cancel creating the mark, press Cancel .
|
To create the mark as the arrow, press
![]() button.
button.
Now draw the arrow on the map, specifying the start and end point of the arrow.
|
To change location of the arrow, specify the start and the end point of the arrow again, and the previously created arrow will be deleted.
To change the mark color, select the required color from the provided list.
|
To create the mark, press Create . To cancel creating the mark, press Cancel .
|
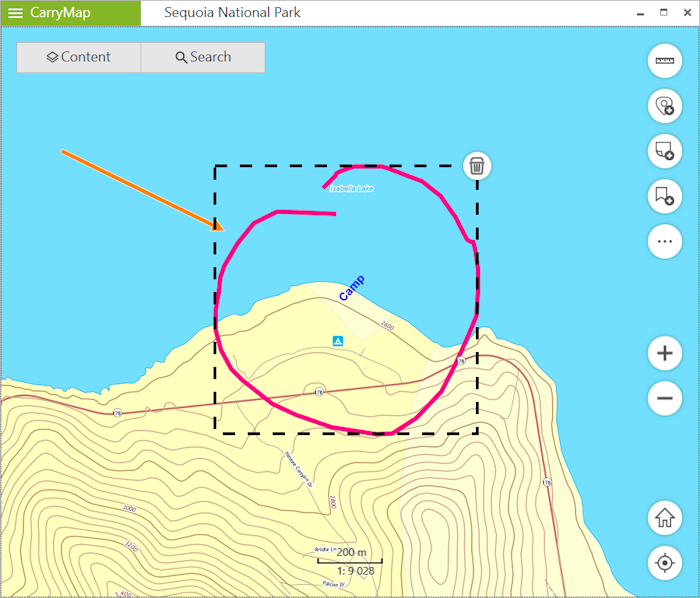
To delete the mark, right-click it on the map.
|
Then press
![]() button and the mark will be deleted.
button and the mark will be deleted.
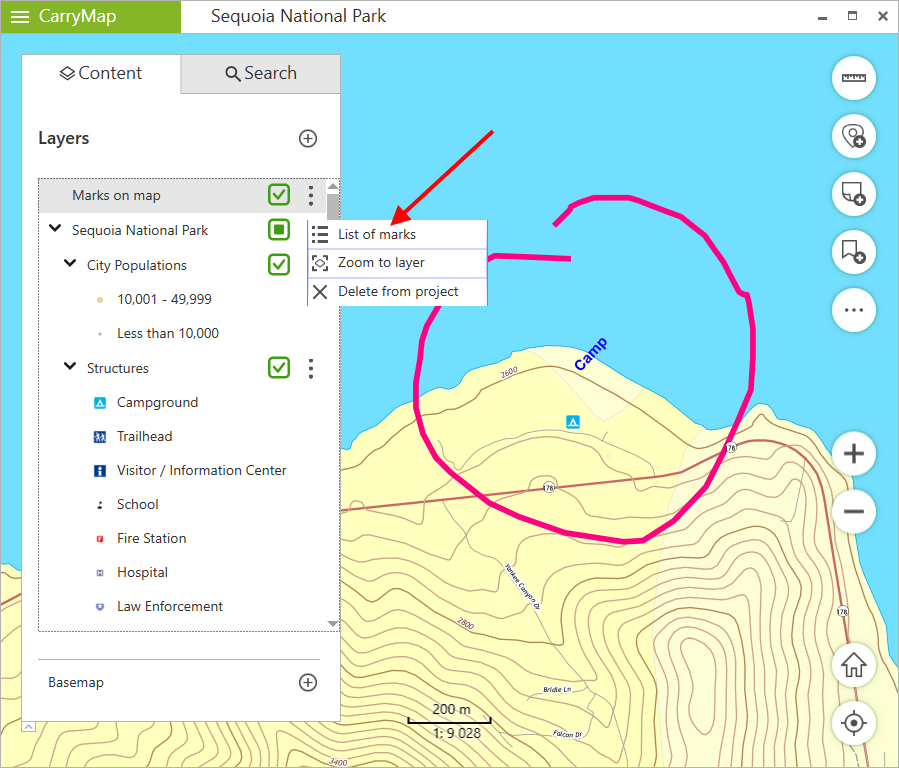
To show list of all marks, press the three dots icon near the Marks on map layer name and select List of marks .
|
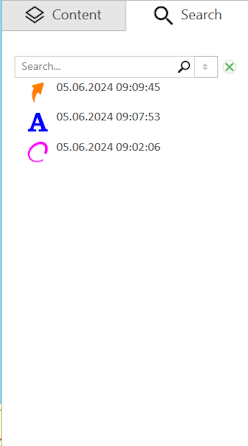
All objects from this layer will be shown in the Search tab.
|