Printing map
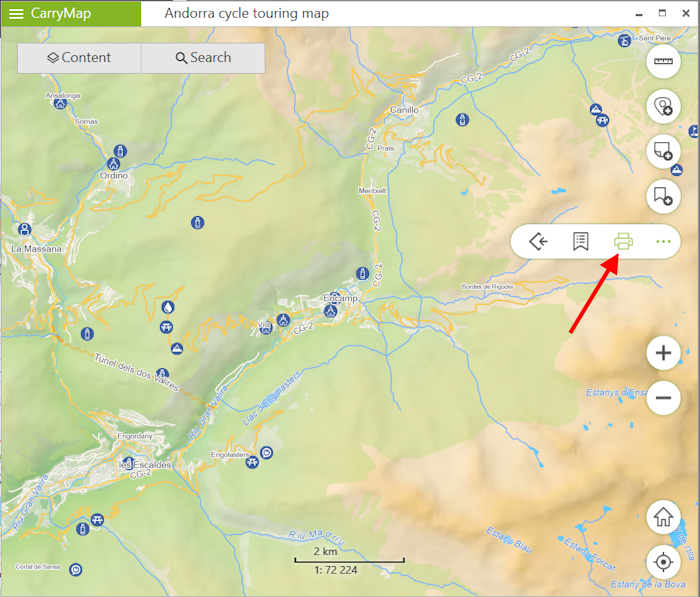
To print map opened in CarryMap application, press Tools button and select Print map in the appeared panel.
|
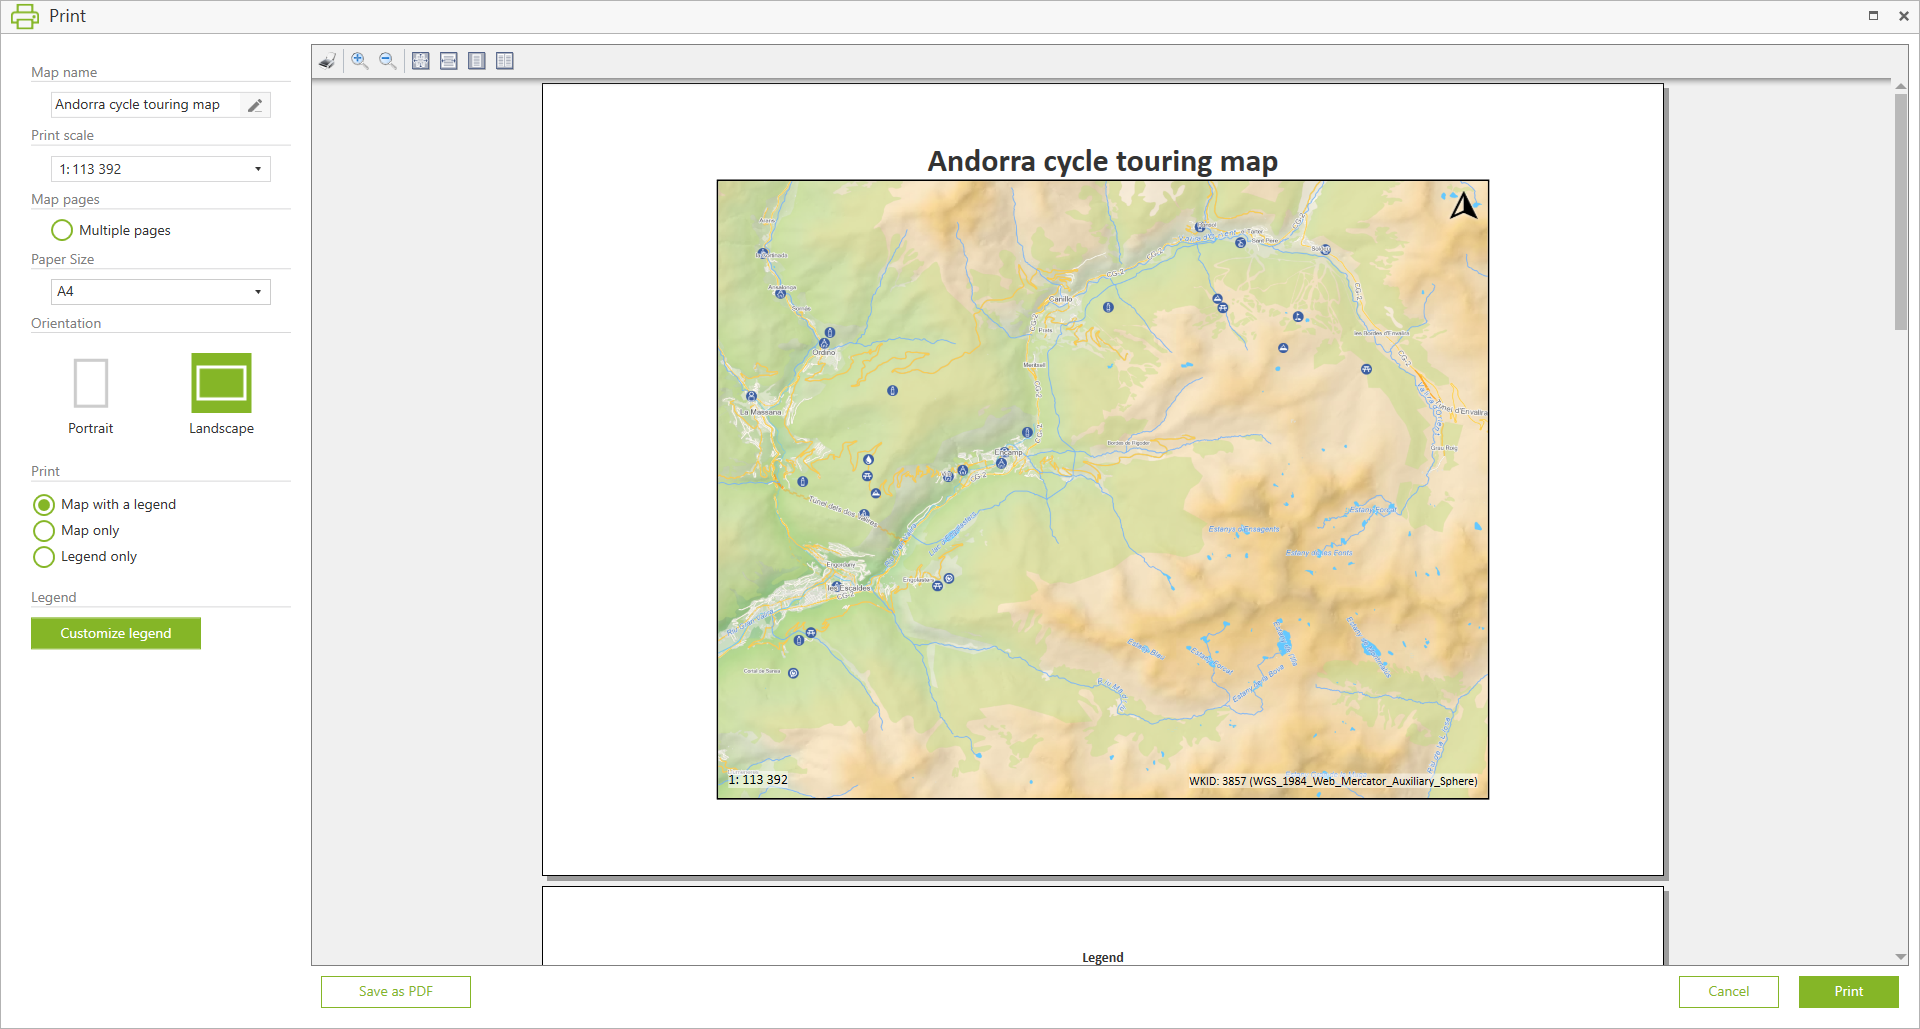
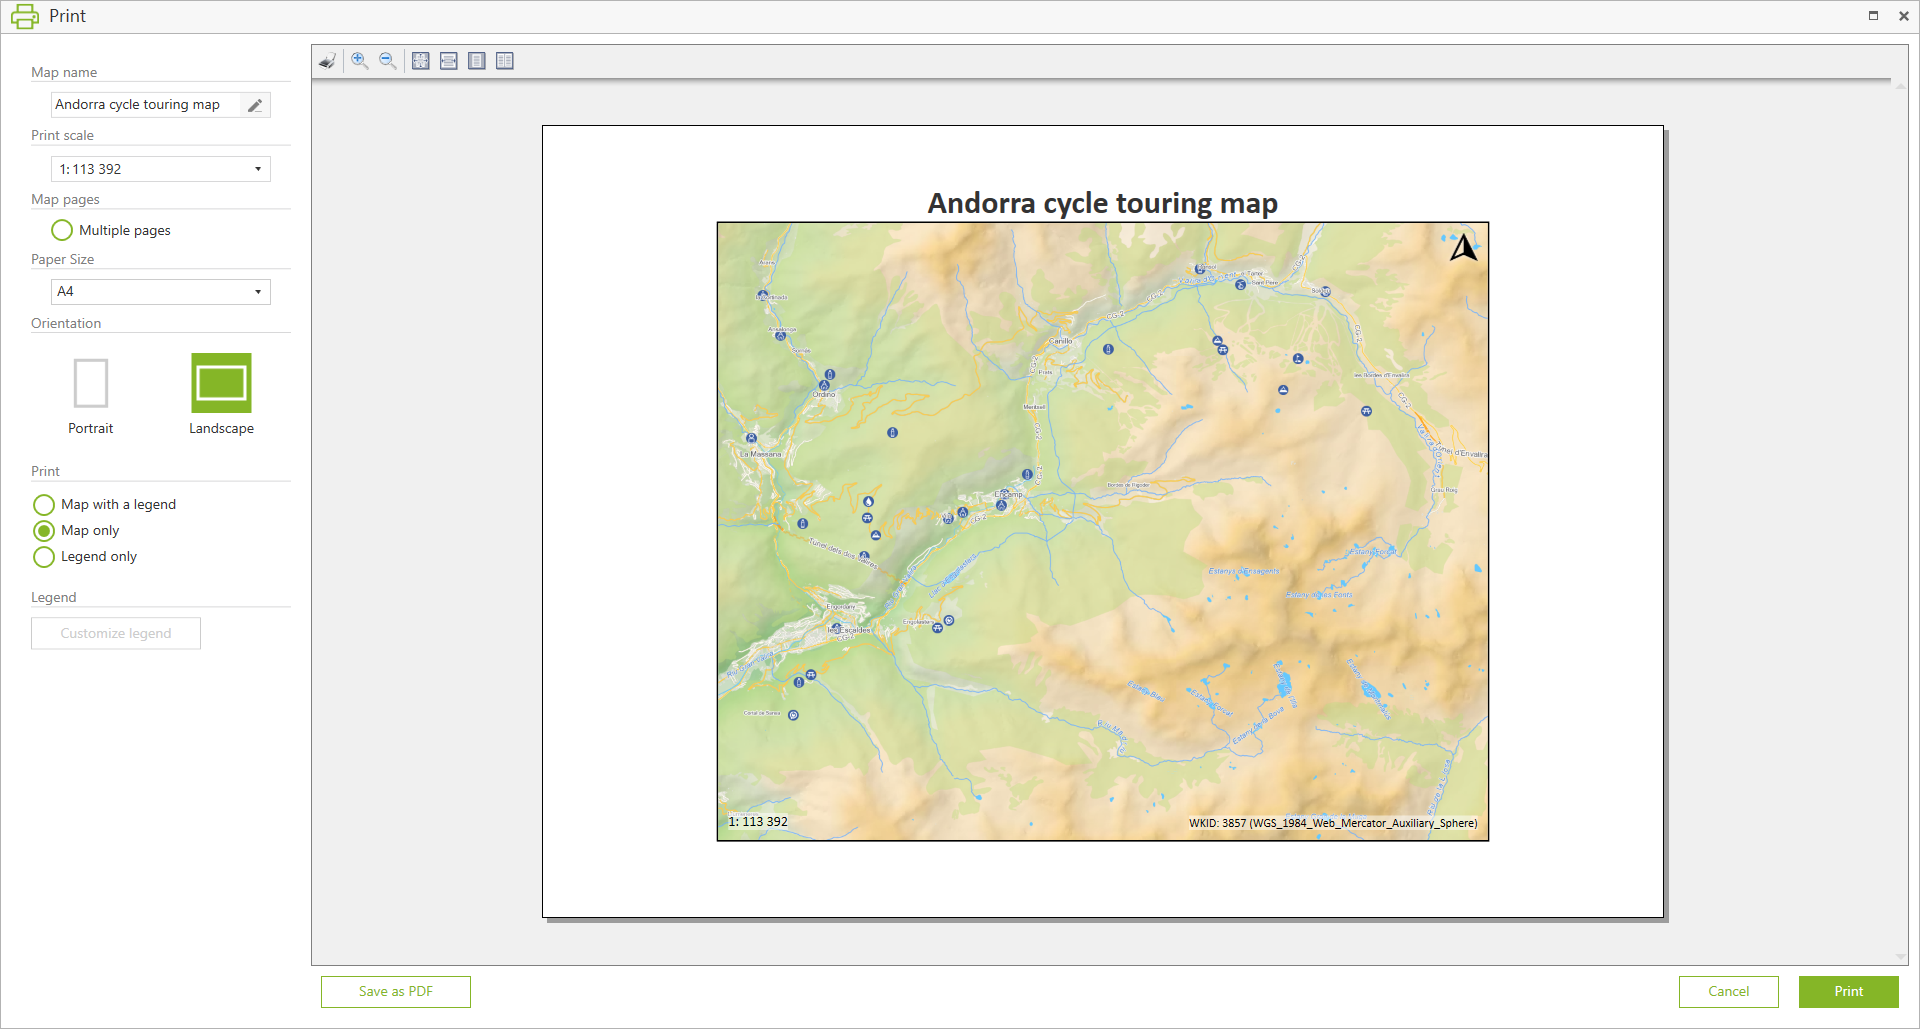
The window with printing settings will appear.
|
Note that the map area currently shown in the app window will be printed.
Map name
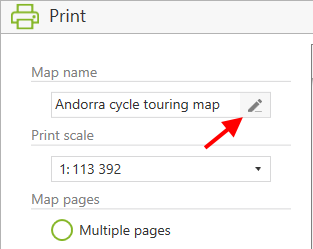
To change the name of the printed map, click the Rename button.
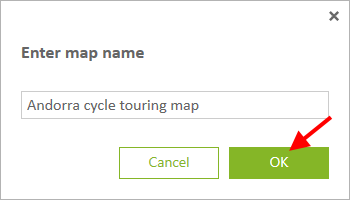
 Change the name of the map and click
OK
.
Change the name of the map and click
OK
.
|
Print scale
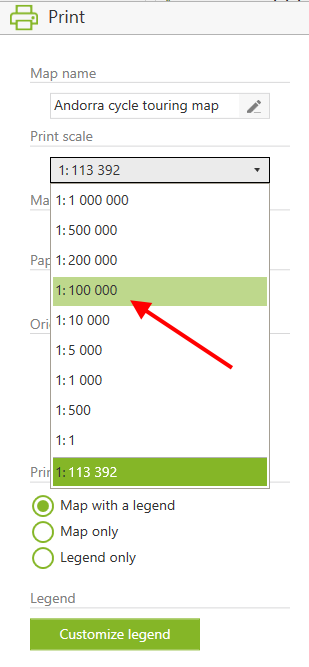
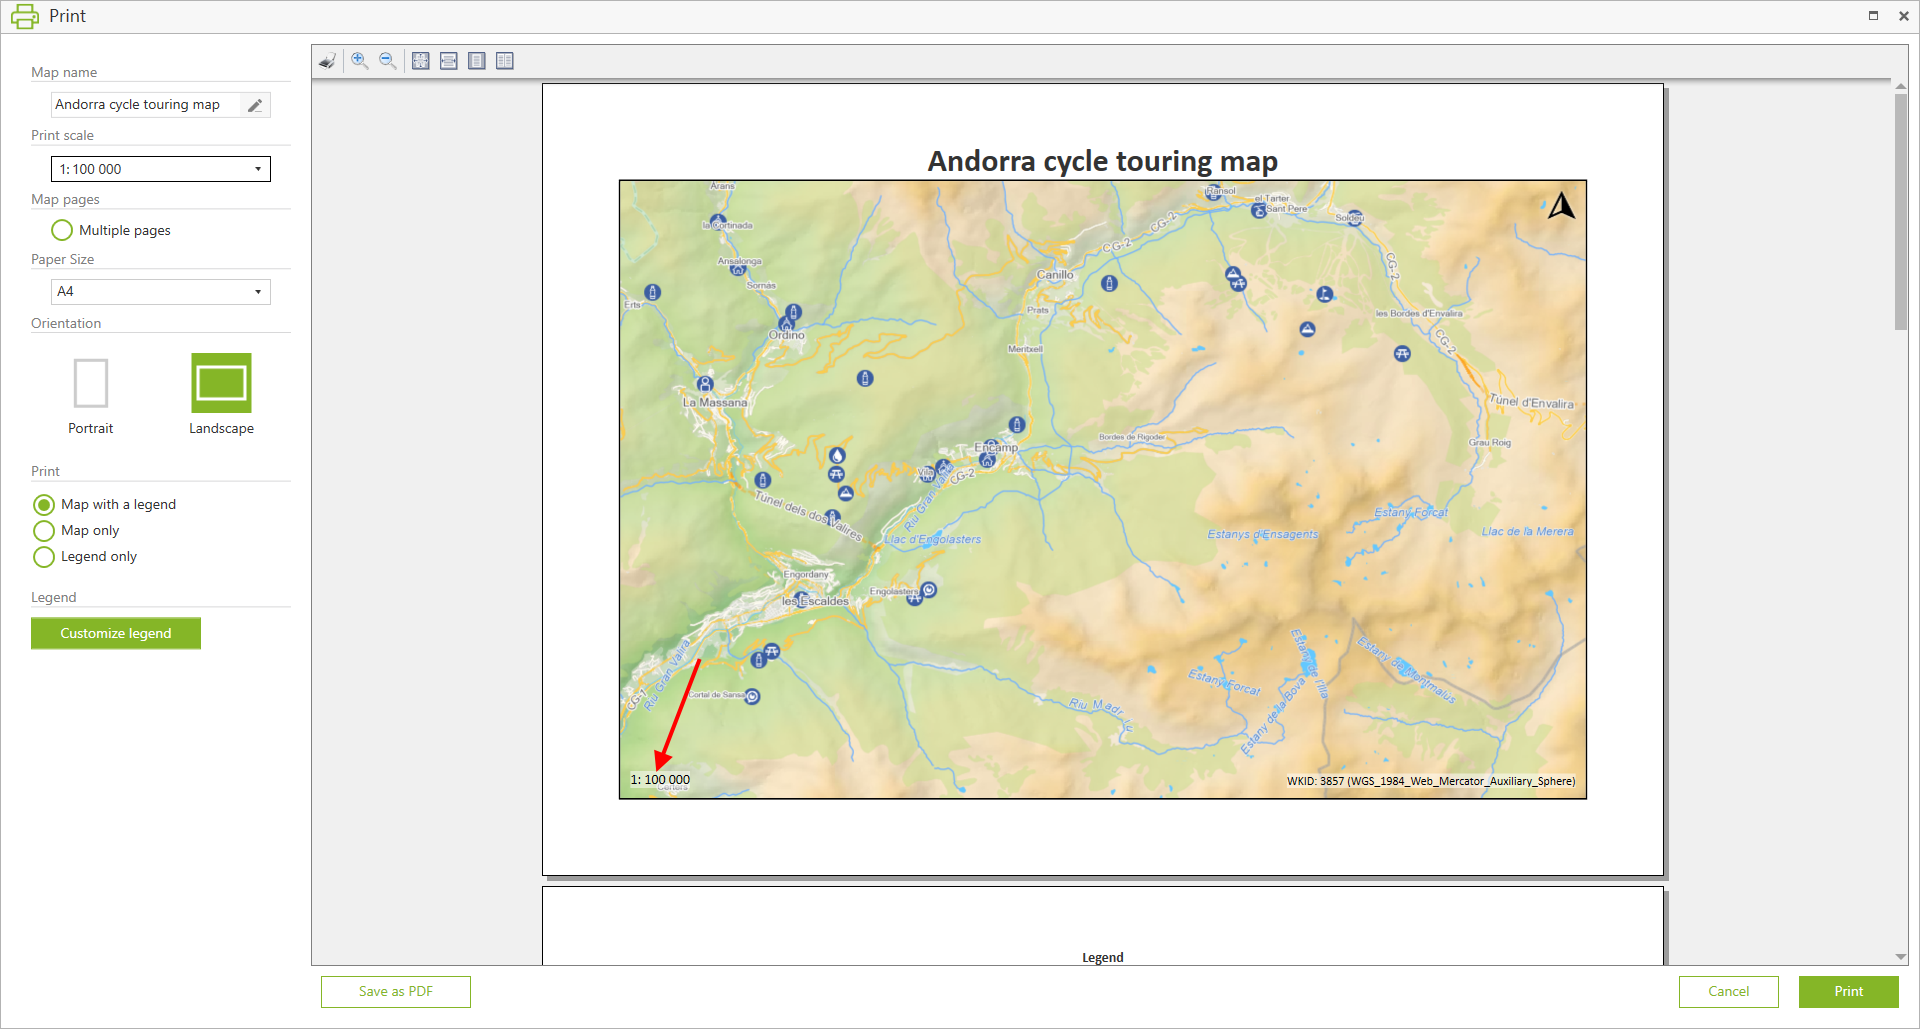
To set the required scale of the printed map, click Print scale and select the scale value from the list.
|
The map will be displayed in the selected scale.
|
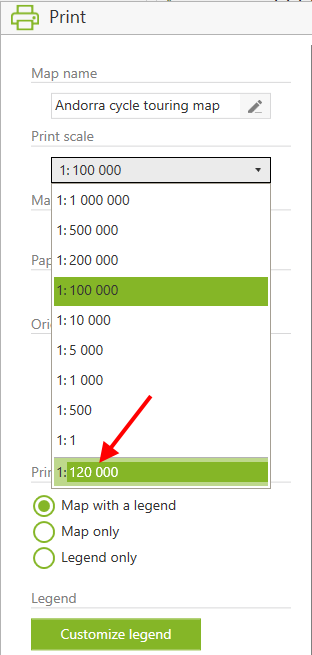
To add your own scale value, click on the scale input line.
Enter the value and press Enter on the keyboard.
|
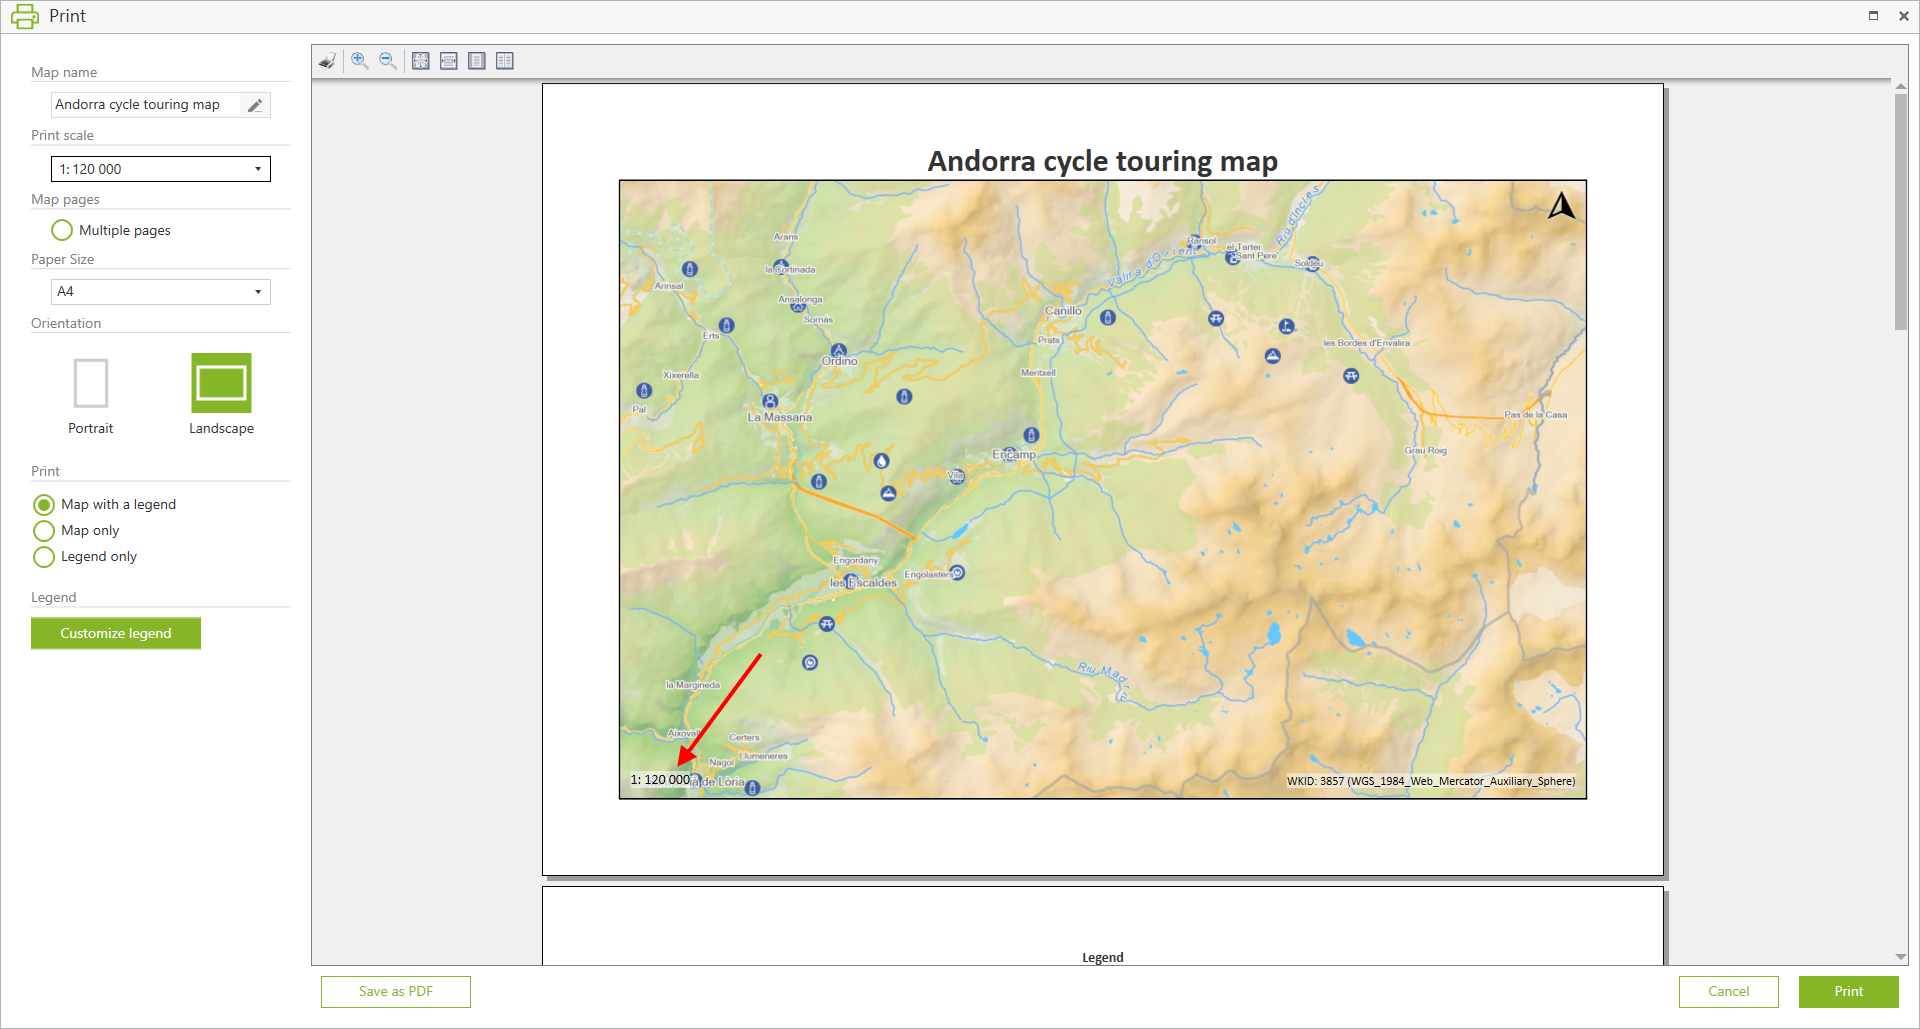
The map will be displayed in the specified scale.
|
Map pages
You can place your map on a specified number of pages. To do so, select the Multiple pages option.

|
Note that the number of pages is determined automatically based on the current map area and the printed map scale, which is set in the Print scale option.
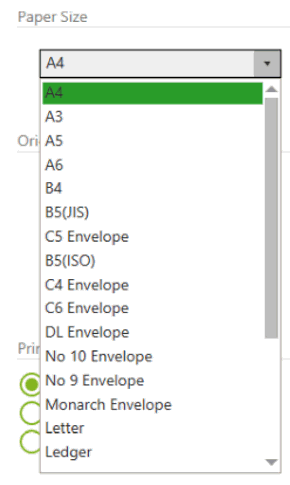
Paper size
Press Paper size and select the required paper format for printed map from the drop-down list.
|
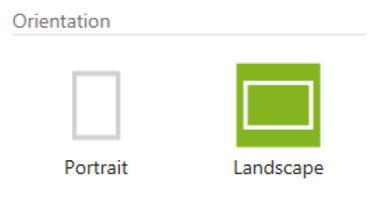
Orientation
To set the sheet orientation, select Portrait or Landscape in the Orientation section.
|
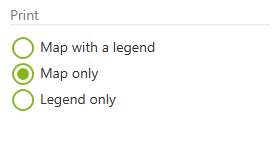
Map legend
By default, the map will be printed with the legend, but you can select other printing options.
To print your map without legend, select Map only in the Print section .
|
In the preview window the map without legend will be shown.
|
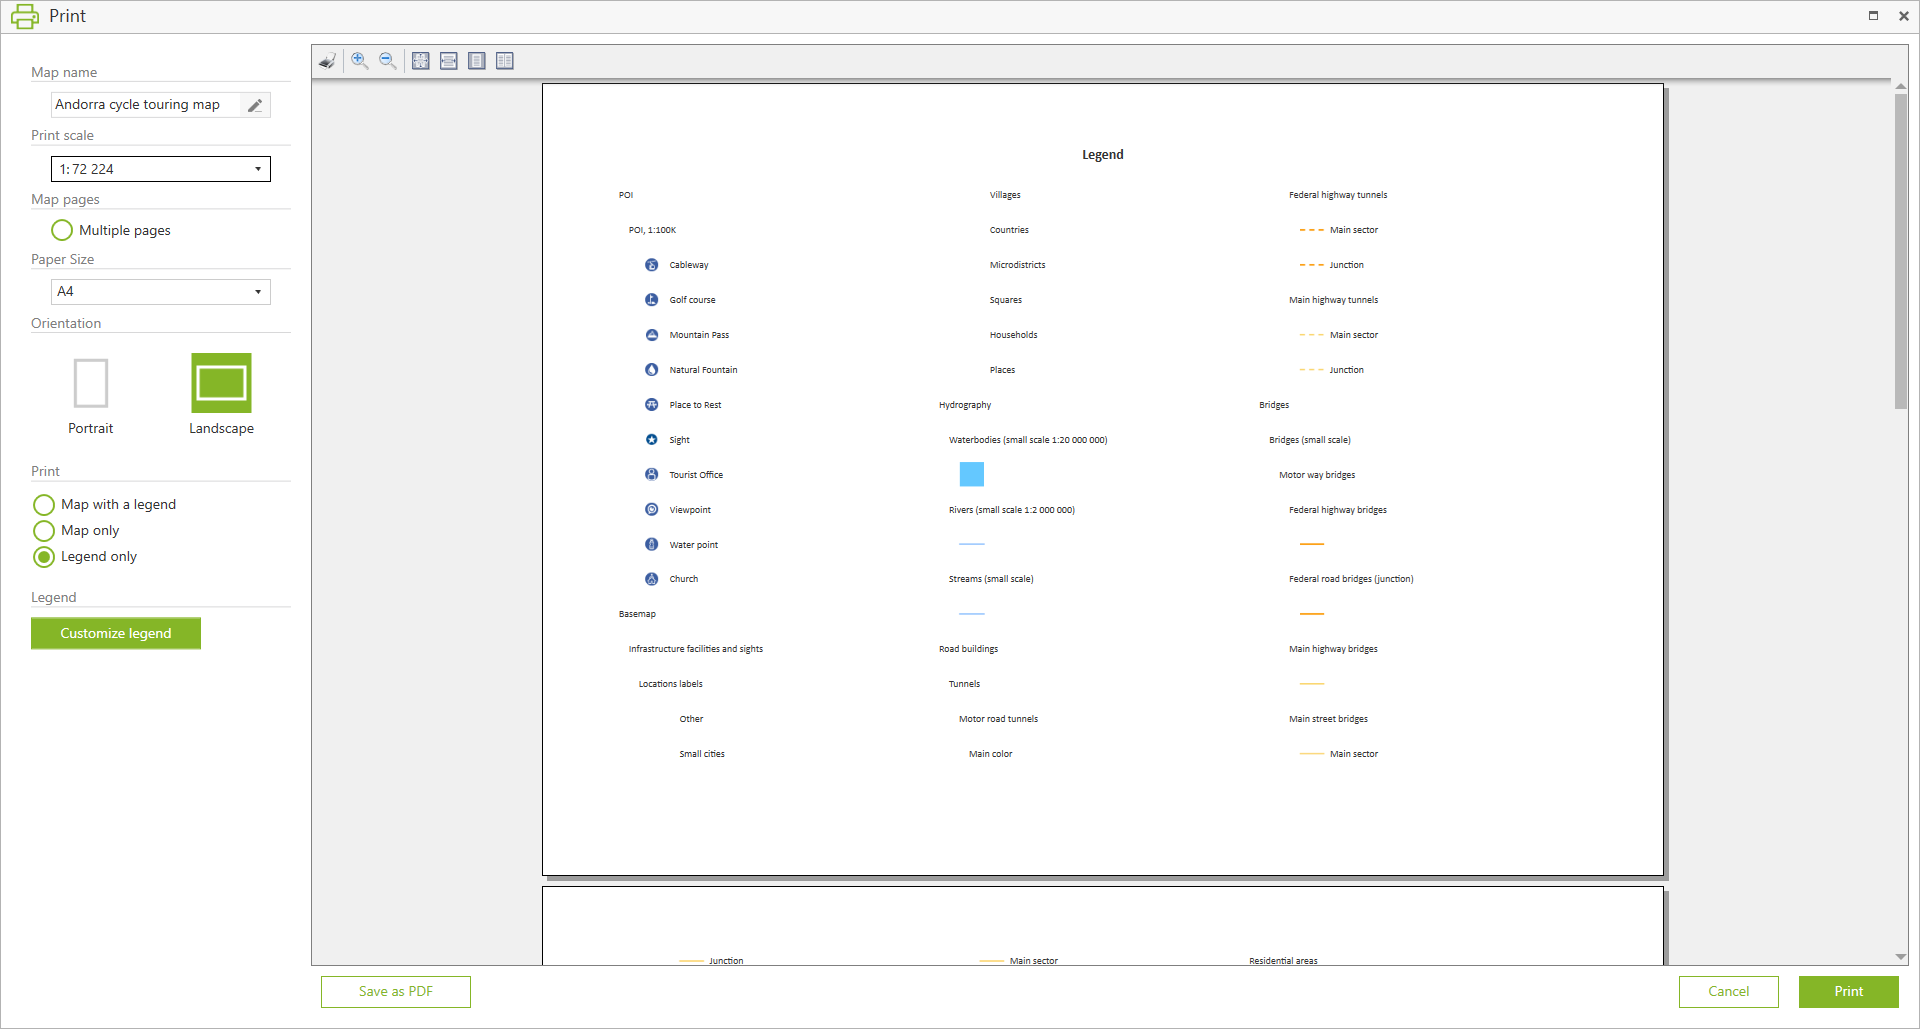
To print only map legend, select Legend only in the Print section .
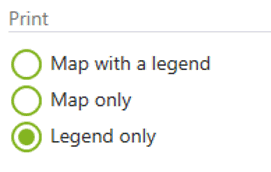
|
In the preview window the legend only will be shown.
|
You can customize the map legend before printing so that it displays only the information you need. To do so, click the Customize legend button.
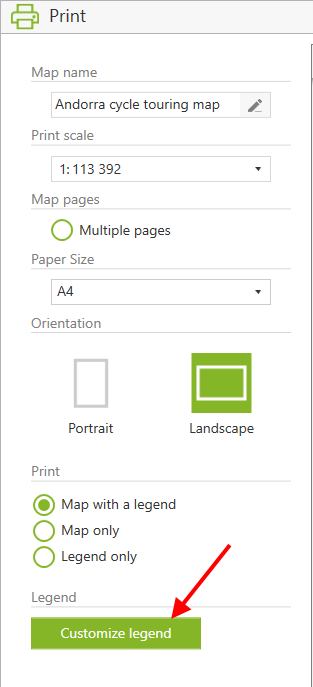
|
In the appeared window check the box near the required layers and press OK .
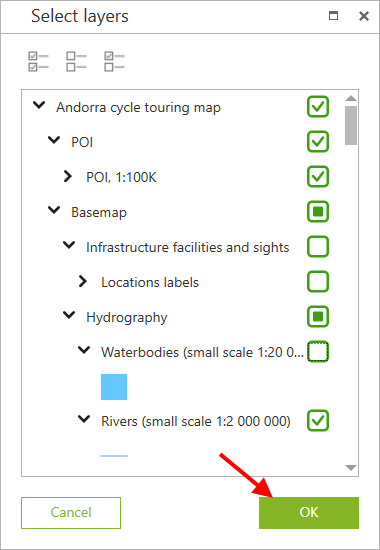
|
After setting all printing options, press Print.

|
In the appeared window select printer and press Print .

|
To save selected map area as PDF file, press Save as PDF.

|
In the appeared window select location and name of the output PDF file and press Save .